Address : New Industrial Area
UMM AL QUAIN, U.A.E
Call Us : +971(0)688 68 082
Mail Us : info@ztrometal.com
Office Time : Monday to
Friday 10:00 - 20:00

T-grid Suspension System

T-Grid Suspension

image


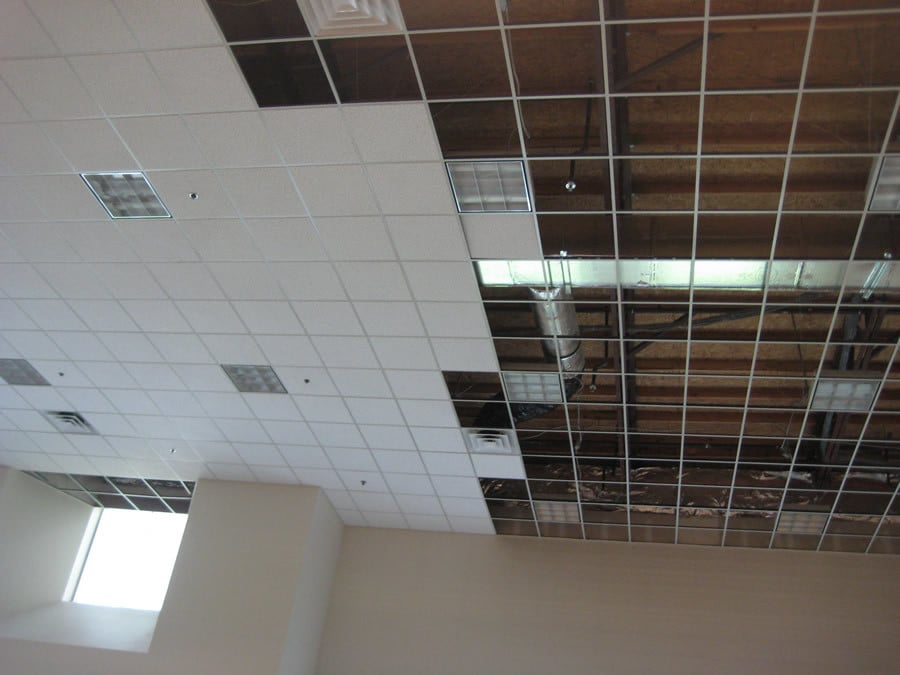
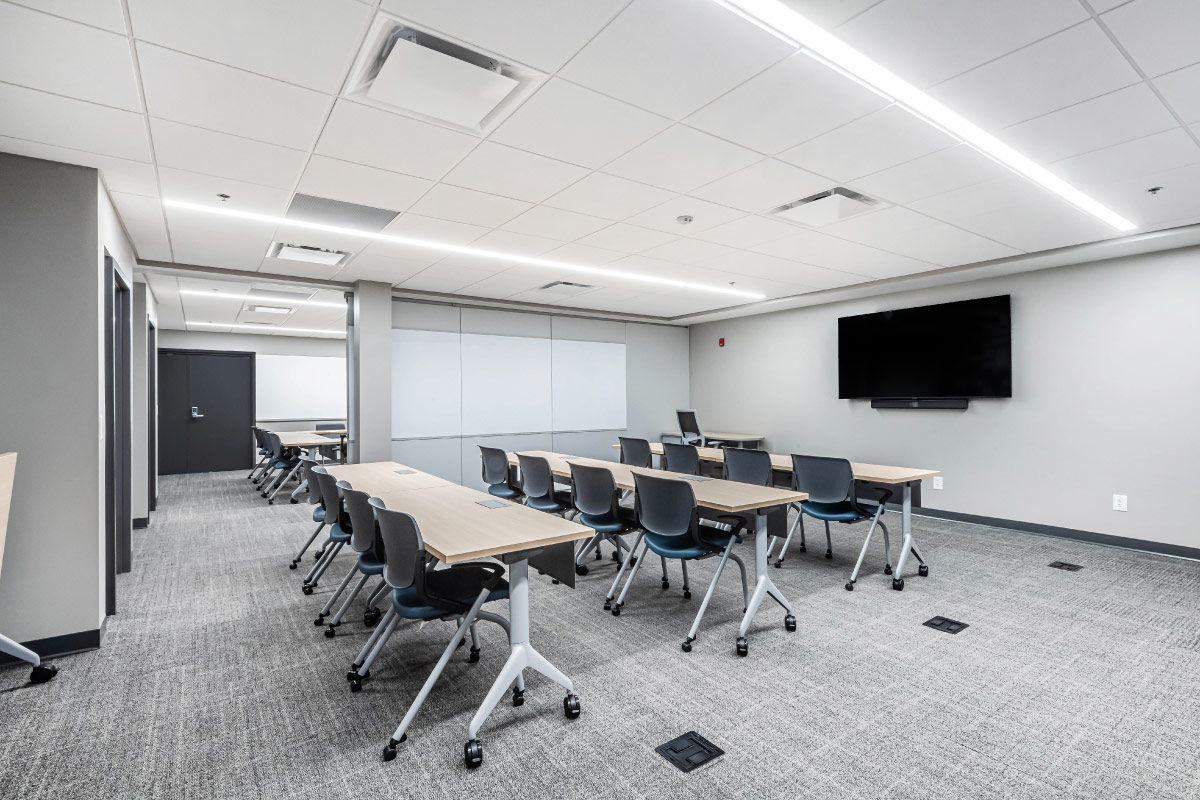
Benefits of suspended ceiling


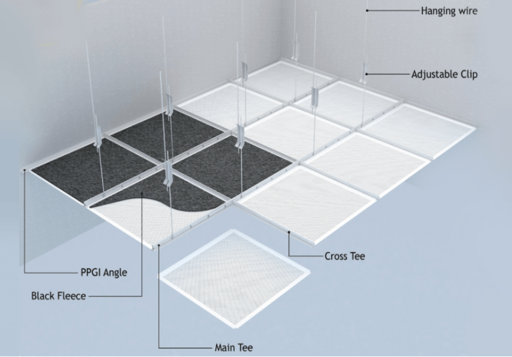
Suspended ceilings, also known as dropped ceilings, offer a practical and versatile solution for concealing the original ceiling and the complex network of ducts, pipes, and wiring attached to it. They are easy to install and remove, making it convenient to access hidden systems for maintenance or repairs. Additionally, suspended ceilings are an excellent choice for soundproofing, as they help reduce noise from the floor above. With a wide range of tile patterns and colors available, they also provide ample design flexibility to suit various aesthetic preferences.


Operation & Control
Enquire Now

APPLICATIONS

APPLICATIONS FEATURES & BENEFITS
Offices Choice of tile edge detail
Classrooms Standard sizes ex-stock
Laboratories Ceiling takes up minimal void space
Hospitals Simple downward access
Airports & Other Commercial Services easily integrated
Installations Excellent fire performance
image

PRODUCT SPECIFICATION WITH BEST FITS

  • 1. Material: Galvanized Iron (GI) According to BS EN 10346: 2009 (Formerly BS EN 10142:1991) Coating to ASTM A653 / A653M.

  • 2. Manufacture as per ASTM C635/ASTM C635M. Direct Hung as per ASTM C636/C636M.

  • 3. Cap – Pre Painted RAL 9003 or RAL 9010.
image
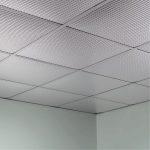
Aluminium Ceiling Tiles
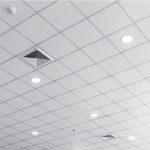
imageGypsum Tiles
image
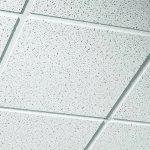
Minerals Fibre Tiles

T-GRID SUSPENSION COMPONENTS

The Suspension T-Grid with a capping face used for 600mm x 600mm aluminium, steel, vinyl or mineral fibre tiles.


Description Reference/ID Dimensions (mm) Thickness Length (mm) Color
Cross Tee ZCT60
ZCT120
ZCT1560
ZCT15120
25 x 24 (T-24)
25 x 24 (T-24)
32 x 15 (T-15)
32 x 15 (T-15)
600
1200
600
1200
RAL-9003/RAL-9010
RAL-9003/RAL-9010
RAL-9003/RAL-9010
RAL-9003/RAL-9010
Main Tee ZMT360
ZMT360
ZPGA15
32 x 15/24
38 x 24
19 x 15 (T-15)
-
-
0.45
3600
3600
-
RAL-9003/RAL-9010
RAL-9003/RAL-9010
-
L-Angle ZPGA20
ZPGA25
20 x 20
25 x 25
0.45
0.45
3000
3000
RAL-9003/RAL-9010
RAL-9003/RAL-9010
L-Angle with Tab ZTA25 25 x 25 0.45 3000
W-Angle ZWA10
ZWA15
ZWA20
A - B - C - D
19 - 9 - 19
19 - 15 - 15 - 19
20 - 19 - 19 - 20
0.45
0.45
0.45
3000
3000
3000
RAL-9003/RAL-9010
RAL-9003/RAL-9010
W-Angle with Tab ZWA10T
ZWA15T
ZWA20T
A - B - C - D
19 - 9 - 19
19 - 15 - 15 - 19
20 - 19 - 19 - 20
0.45
0.45
0.45
3000
3000
3000
RAL-9003/RAL-9010
RAL-9003/RAL-9010

ACCESSORIES

image
image
image

INSTALLATION

image
image

STEP 1

Mark the wall

Using the water level or laser method, mark the desired height on the wall.

STEP 2

Attach Edge Trim / U-shape or W-shape

Using screws and nails, fix the Edge Trim on the walls at the marked height.

STEP 3

Complete the grid

Mark the required distance intervals proceed to fix the suspension system using the Main and Cross Tee according the approved layout.

STEP 4

Attach the Wires

Fix the suspension system with 3mm or 4mm wires using ceiling clips and cartridges.

STEP 5

Install the Tiles

Lay in the 595mm x 595mm tiles in the correct pattern.

STEP 6

Cut the tiles (if necessary)

Cut apertures for lights and other services where required.